Maud Humphrey

Maud Humphrey

Wednesday, August 28, 2019

American Girl ADDY and Simplicity 1391--again!

A few years ago, I sold my American Girl Addy doll.  I was trying to thin out my collection a bit, and honestly, I had never really bonded with that doll.  But lately, I had really been missing her and regretting my decision to have sold her.  So I went on the hunt for a new Addy.  And I found one!  A fellow member in a Facebook group advertised this lovely, early, Pleasant Company Addy, and I just knew she had to be mine!

I believe she is a first edition, or at the least very early, since she has some of the hallmarks of a first edition doll--straight, soft eyelashes, soft vinyl face, exposed ribbon at the base of her wig, and marked Pleasant Company 148/16 on her neck.  She has the sweetest expression!
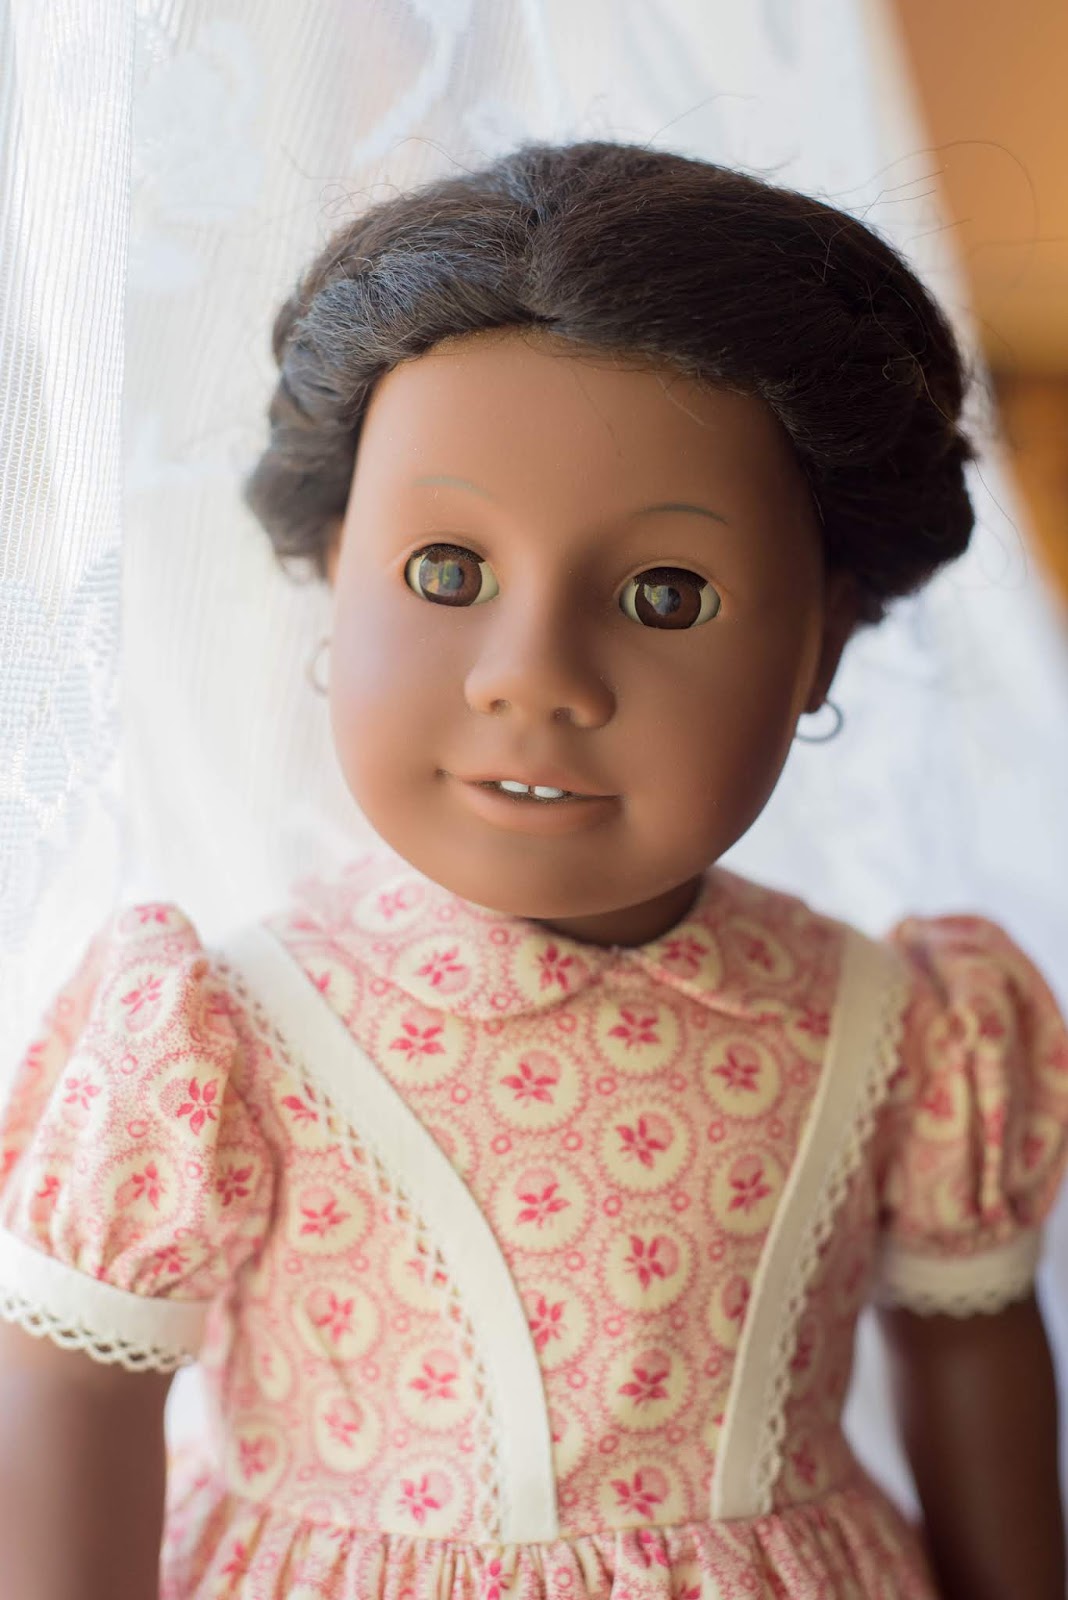


She was nude when I bought her, so I immediately set about making her a new outfit.  Simplicity 1391 is my go-to pattern for civil war era styled clothing:

I made a version of the blue dress in the upper right corner.  I left off the belt and the bow at the neckline.  Otherwise, my creation looks pretty similar.  Another difference is that I almost always line the bodice instead of using facings.  I just think it looks so much nicer.

I used a vintage piece of cotton eyelet insertion to accent the hem.  Bias binding with picot crochet edge trims the sleeves and the dress bodice.

I wanted to make her jacket and bonnet set from wool, so I headed off to Goodwill and purchased a women's, 100% wool skirt to cut up for just $6.99.  I only used about a third of it, so not bad for the cost!  The jacket closes with snaps under decorative buttons.  It is completely lined with printed cotton.  


The bonnet is my favorite part of this outfit!  I just love bonnets.  It is also completely self lined, with a matching wool ruffle along the inside that frames her little face.  A vintage piece of ruffled trim adorns the outside of the bonnet.  It ties under the chin with vintage seam binding.

The jacket may look complicated, but it actually sews together very quickly.  The fit of this pattern is impecable, as well.  It is designed by Keepers Doll Duds, one of my favorite doll pattern designers.

I still need to make her a proper slip.  She borrowed one from another doll for the photos, but I want to make one just for her.  I guess that'll be my next project!


Friday, August 23, 2019

18" Madame Alexander Doll Limb Repair

Lately I've been enjoying figuring out how to repair dolls.  The method I will show you is not the only way, or may not even be the best way, but it is the way I discovered that works best for me!  Here we have an 18" Madame Alexander doll, marked 2004 on the back of her neck.  I found her at a thrift store with her arm already broken.  I was able to get her for half price because of the defect, so I believe she cost me a whopping $2.00.  Her clothing and shoes alone made her worth the price, and I figured I could practice my rehab skills on her.

Here is a picture of her leg joint, but it is exactly what her arm joint looked like as well.  When it breaks, there is no way to repair it aside from removing it and replacing it with a new sort of jointing system.  I used pliers to crack apart the plastic and remove all the parts. This is what you are left with:  
A nice, empty, shoulder cavity.

Here's the arm, with the plastic joint removed.  Also shown is the wooden craft ball with a center hole which I decided to use for the new joint.  The ball is just slightly larger than the armhole opening.  You'll need to use a blow drier (or heat your vinyl some other way to make it pliable) in order to be able to shove the wooden ball inside the cavity.

Here are the supplies I used:  Elastic stringing cord, metal washers, crimp sleeves, and wooden craft balls (with a center hole)

Thread elastic cord through the wooden ball and secure a crimp sleeve on one end with pliers.

Heat up the vinyl (only takes about a minute with a blow drier), and then shove the wooden ball (crimp-sleeve end first) into the arm.  Wait a few minutes for the vinyl to cool and become hard again.  

Thread the free end of elastic cord into the shoulder cavity and out through the body.  Add another wooden ball (optional), a washer, and then another crimp sleeve.  You don't have to add the wooden ball, but I was having hard time reaching into the narrow body cavity and securing the crimp sleeve with the pliers, so adding the wooden ball allowed me more room and ease to get this accomplished.  Pull the elastic as tight as possible and secure the crimp sleeve with pliers.  The arm is now functional again!

Another picture of the joint repaired.  I ended up cutting off the long tail of elastic that wasn't needed.  Then I restuffed her torso with fiberfill stuffing and closed the opening with a ladder stitch.

All ready to be loved and enjoyed again!

This particular doll is being donated to a lady in my doll club who is involved in an organization that gives dolls to children in the foster care system.  She will receive a nice, new outfit and shoes.  But most of all, she will receive a new little girl to love her!  I am so happy to have been able to give to new life to a doll that most likely would have ended up in a landfill.  Aside from her broken arm, she was really lovely.  Her hair is thick and full, and she has the sweetest face.  These early, Madame Alexander play dolls are so pretty.

And while this is not doll related in the least, I just had to share:
This is my son's teddy bear hamster, Lydia.  Isn't she cute?  She is so sweet and tame.  Here she is, taking a sand bath in a ceramic bowl.  She is about 1 1/2 years old.  Hamsters only live about 2-3 years on average, so I am already dreading the day she passes on.  My son (and the rest of our family) just love this little rodent so much!

Just like people, her hair is turning white behind her ears with age.  So I guess we have a little old lady hamster!


Sunday, July 7, 2019

Madame Alexander Victoria Baby Doll...How to Fix a Mama Cry Box!


Here's the video I promised of Victoria baby crying!  I'm so proud of myself for fixing her.

This is what the cry box (it's actually a cylinder!) looked like after I sawed off the lid.  All of the cry boxes I've repaired before this one had a lid that could easily be pried off.  But not this one.  I ended up resorting to using this little saw to carefully cut it off.  It worked!

In case you've never taken one of these boxes apart, this is what the inside component looks like.  It's basically another cylinder, heavy, with a hole going up the middle, leading to weird little metal tabs on the other end.  These tabs are what make the noise.  Be very careful that you do not disturb them, because those tabs can easily break off, and then your cry box will no longer be able to make noise.

These cry boxes initially worked because they had some sort of rubber gasket around the rim, which allowed the inner cylinder to slide down slowly in the outer cannister, forcing the air up through the hole and through the metal tabs, making the sound.  Kind of like when you were a kid, and you held a blade of grass tightly between your two thumbs and blew on it...does that make sense?  The reason why these cry boxes quit working is because the rubber gaskets disintegrate over time, letting the inner cylinder "clunk" back in forth in the plastic outer cylinder, not allowing enough time for the air to be forced through the hole.  So what we have to do to repair this is to create a new gasket.

Here is a closer picture of the inner cylinder with a part of the rubber gasket still around the rim (it's the white strip)

I scoured the internet, looking for ways to repair these cry boxes.  I could only find one youtube tutorial, but it was for repairing older cry boxes from the 30's mama dolls, which had different components then these newer cry boxes.  By the way, you can go online and order replacement cry boxes for your dolls if you'd rather not repair them, but I think they cost like $20 a piece...no thank you!  So this is what I came up with...TAPE!  I figured I needed to build up the inside cylinder just enough so that it would slide down slower inside the outer cylinder, and not just "clunk".  So I took masking tape and carefully wrapped it around the inner cylinder.  This is the kind of tricky part.  I can't tell you how many times to wrap it around...it'll just depend on your particular cry box.  Each one is different.  So wrap it around once or twice, smoothing it down well so there are no wrinkles.  My tape was wider than the cylinder, so I had to cut off the unused portion from the bottom once I was finished.  

Anyway, wrap the tape around once or twice, and then put it into the plastic cannister and try it.  If it falls with a "clunk", it's still too loose and you'll need to add more tape.  If you have too much tape, it won't slide at all.  It's a fine line, figuring out how much tape is enough.  I ended up using masking tape until it was almost perfect, and then I added one, thin strip of Scotch tape.  This did the trick.  Voila!  Now my inner cylinder slid down at just the right speed in the plastic cannister to allow the air to be forced up the hole and through the metal tabs to make the noise.  

When I was satisfied that it was working the way I wanted it to, I glued the lid of the cannister back into place with some E6000 glue.

I picked up another Madame Alexander baby doll at Goodwill today with a --you guessed it--broken cry box!  I am going to try to do a video tutorial soon, so that I can actually show you.  But in the meanwhile, I hope this helps!


Saturday, July 6, 2019

Vintage Madame Alexander Baby Victoria Rehab...Part 2 and FINISHED!

Do you all remember this dirty little soul from my last post?  I told you I was going to rehab her, and I did!

I used my trusty hemostat to pull out all of the stuffing.

I just knew that there was a cute little baby under all those years of dirt and grime.

Perhaps if you zoom in on this picture, you will see that her cloth body looks 100 times better!  This is after I soaked her overnight in a bucket of hot water with OxyClean powder, and then hung her body out on the laundry line to dry in the hot sun over 4th of July.  I also scrubbed her vinyl with a Mr. Clean Magic Eraser.

I managed to get all that stuffing back into her body!  Because I had to cut the old zip tie from her neck, I replaced it with cotton cording which looks very similar to what American Girl uses/used for their dolls.

I buy it at JoAnn's, in the jewelry making department.

Here she is, ready to be dressed, with a nice, clean body.

Her dress is tagged and original.  Her bloomer panties are vintage replacements.  I soaked them both in OxyClean as well, and they came out looking brand new.  OxyClean should really give me something for promoting their product.  I use it and rave about it all the time!

And the best part about this entire make-over...I was actually able to repair her cry box!  I will explain how I did it in my next post.  I tried to upload a video, but I can't get it to work right now.  My super-techie adult son is coming over this weekend, so hopefully he can walk his old mother through how to upload a video.  Until then, have a great Saturday!


Wednesday, July 3, 2019

Vintage Madame Alexander Victoria Baby Doll Rehab...part 1

I have SO many dolls I need to fix up and sell.  Seriously.  I think they multiply when I'm not looking!  I have been ignoring them, because it just gets too overwhelming sometimes to think about all I have to do to get them ready to sell.  There's just never enough time!  But I recently decided to try and rehab one doll per day...that should be do-able, right?  Yesterday, I cleaned up Toodles and sewed her an outfit.  Today, this Madame Alexander "Victoria" baby doll became the recipient of my clean up efforts:

I didn't think to take a picture until I had yanked out all of her stuffing.  The reason for removing all the stuffing was so that I could soak her extremely filthy cloth body in a hot water/Oxy Clean bath.  This has worked well for me in the past, so I'm hoping it does it's magic again.  I had to use the hemostat to pull the stuffing from the narrow cloth arms.

Here you can see her filthy body a little better.  I will "fluff" the cotton stuffing by pulling it apart before re-stuffing the doll.

This baby has such a sweet face.  I hope I don't fall in love with her and want to keep her.  I seem to have that problem with all of these little waifs that I rehab!

She also had a cry box that no longer works.  If I can figure out how to get it open (it is completely glued shut), then I will try to fix it.  I have recently figured out a way to make these cry boxes work again, and I would love to fix this one as well!  But like I said, it is completely sealed shut.  The others I've fixed were easy to pry open.  This one...not so much.  So we'll see.  If I can't fix it, I won't put it back in the body.

Okay, so this part one to the story.  Victoria's body is soaking overnight, and I hope to see it all clean (or at least extremely improved) by tomorrow morning.  Then I will hang her body out to dry on the laundry line, where hopefully the sun will brighten it even more.  I probably won't get around to re-stuffing it until tomorrow evening, since we will be hanging out with the kids and grandkids most of the day for the 4th of July celebrations.  So part two might not come until Friday.  But bear with me...I'll do my best to finish this story!


Tuesday, July 2, 2019

American Character TOODLES & McCalls 2468

A few months ago, I stumbled across this cutie at my favorite Goodwill store (it's my favorite because they are the only thrift store in our area that consistently offers vintage dolls).  I recognized her immediately as an American Character TOODLES.

24" tall and naked as a newborn!

She is marked "American Doll & Toy Corp. 1960" on the back of her neck, which is one of several ways that American Character marked their dolls.

She didn't look quite this good when I found her...she received a nice sponge bath and got her hair washed and conditioned.  She's in really nice condition for being nearly 60 years old!
One of the things that makes these dolls special is their "follow me" eyes.  No matter which way you turn her head, her eyes look like they're following you!  This is achieved by setting the pupil and iris quite deep underneath the surface of the eye.  Very ingenious!

I did not move this doll at all while photographing her, so here you can see exactly what I mean about her eyes being able to follow you.

I had a photocopy of a vintage pattern in my stash which I predicted would fit this doll.  It is McCalls 2468, for 21"-23" dolls of the era.  Even though Toodles is an inch taller, I figured the bodice would be just fine.  I cut view B, in the top right-hand corner.  I liked that it was sleeveless, but cut a little wider in the shoulders with added trim to look a bit like a sleeve.  I didn't have to make any adjustments whatsoever, and it fit perfectly!  I just love it when that happens.

I trimmed the bodice with a bias strip of the same fabric and edged both sides with rick-rack.  I also used rick-rack at the armhole edges and skirt hemline.  The only changes I made to this pattern were to line the bodice and use snaps to fasten it (under decorative buttons)  I really think it turned out so cute.

She even got a pair of matching panties, also from the McCall's pattern

Snaps are such an easier way to fasten doll clothing.

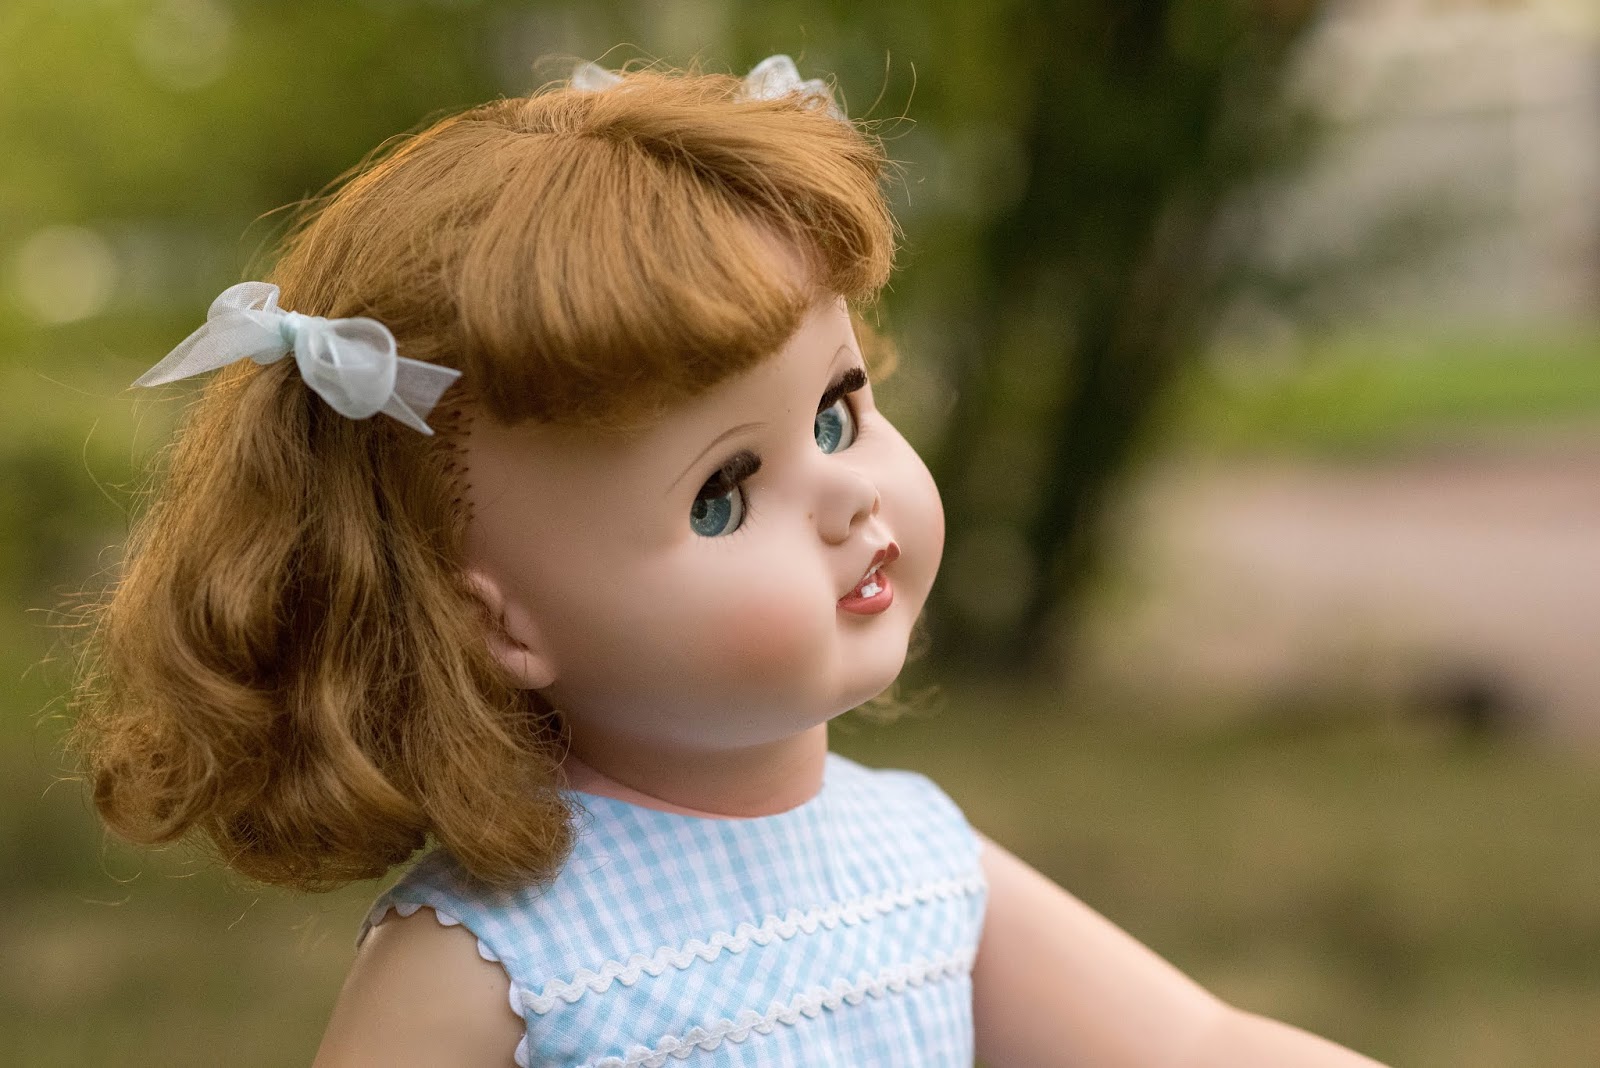
Her hair is still in nice condition with plenty of wavy curls near the ends.  I tied it back on the sides with pretty ribbons.

I wish I had some shoes for her, but for right now we're just going to pretend that she's a typical child who likes to run barefoot through the grass.

This little cutie will be heading off to Ebay soon.  As much as I'd like to keep her, I just don't have room for them all!

"Would you like to adopt me?  If so, head over here (after July 2) and check me out!"