Maud Humphrey

Maud Humphrey

Wednesday, August 28, 2019

American Girl ADDY and Simplicity 1391--again!

A few years ago, I sold my American Girl Addy doll.  I was trying to thin out my collection a bit, and honestly, I had never really bonded with that doll.  But lately, I had really been missing her and regretting my decision to have sold her.  So I went on the hunt for a new Addy.  And I found one!  A fellow member in a Facebook group advertised this lovely, early, Pleasant Company Addy, and I just knew she had to be mine!

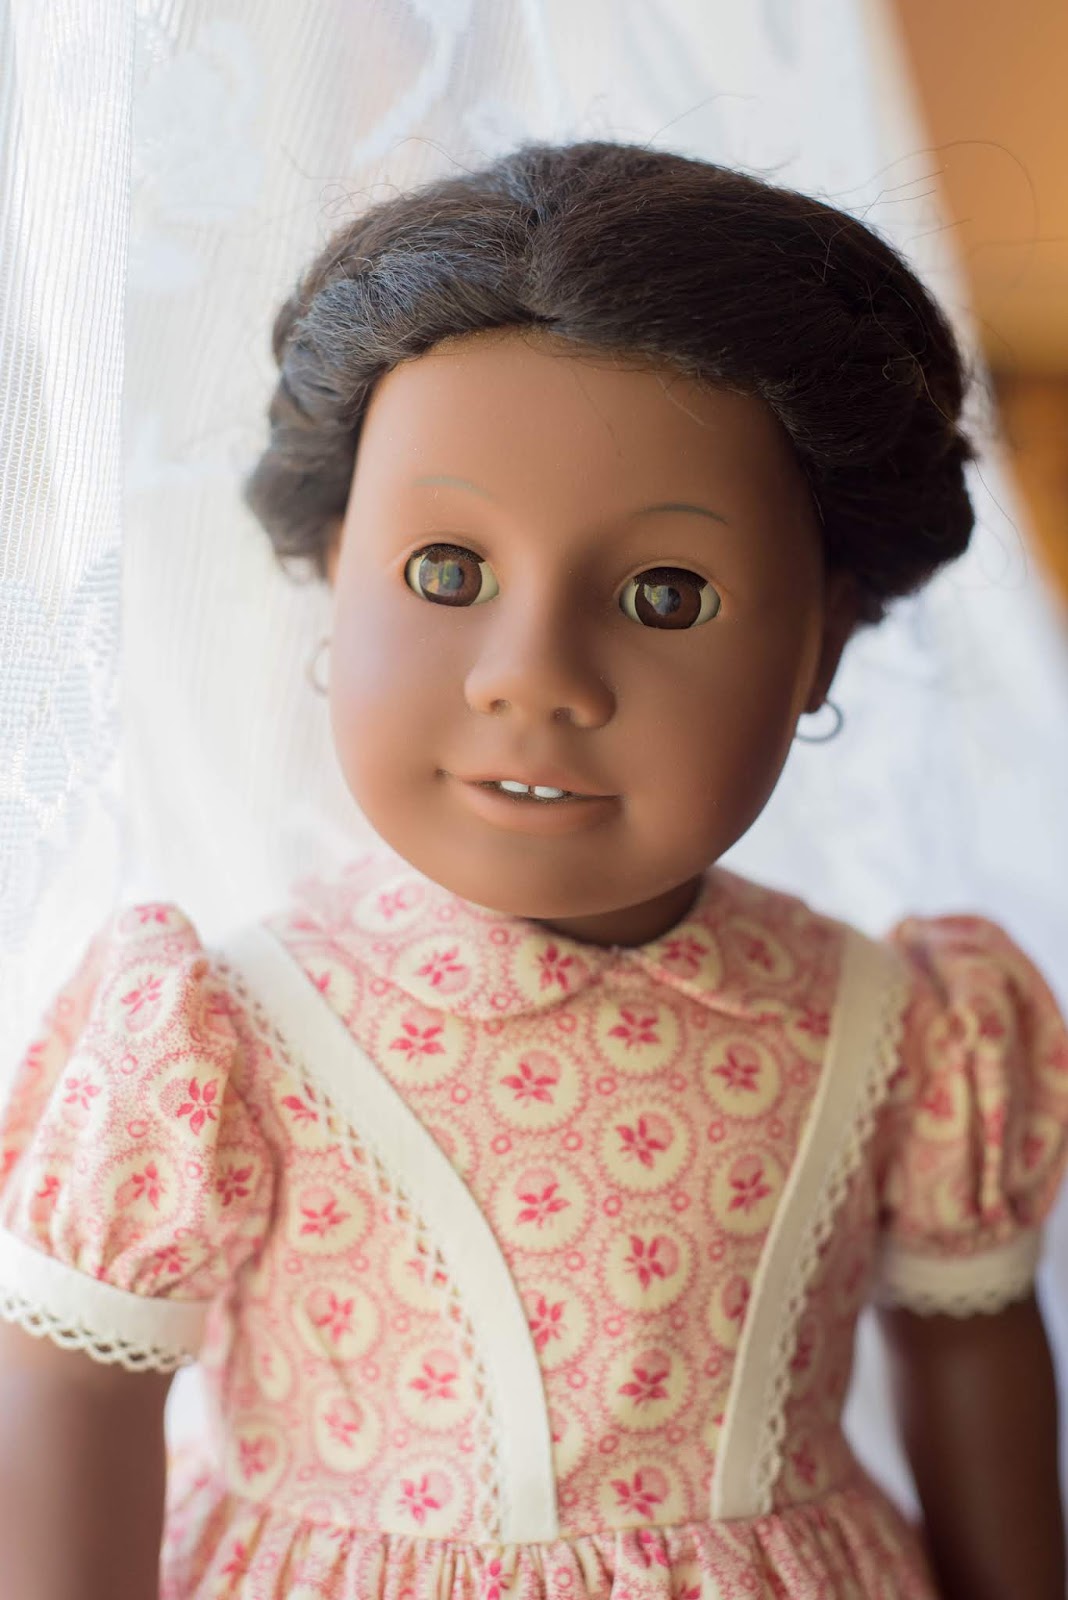
I believe she is a first edition, or at the least very early, since she has some of the hallmarks of a first edition doll--straight, soft eyelashes, soft vinyl face, exposed ribbon at the base of her wig, and marked Pleasant Company 148/16 on her neck.  She has the sweetest expression!


She was nude when I bought her, so I immediately set about making her a new outfit.  Simplicity 1391 is my go-to pattern for civil war era styled clothing:

I made a version of the blue dress in the upper right corner.  I left off the belt and the bow at the neckline.  Otherwise, my creation looks pretty similar.  Another difference is that I almost always line the bodice instead of using facings.  I just think it looks so much nicer.

I used a vintage piece of cotton eyelet insertion to accent the hem.  Bias binding with picot crochet edge trims the sleeves and the dress bodice.

I wanted to make her jacket and bonnet set from wool, so I headed off to Goodwill and purchased a women's, 100% wool skirt to cut up for just $6.99.  I only used about a third of it, so not bad for the cost!  The jacket closes with snaps under decorative buttons.  It is completely lined with printed cotton.  


The bonnet is my favorite part of this outfit!  I just love bonnets.  It is also completely self lined, with a matching wool ruffle along the inside that frames her little face.  A vintage piece of ruffled trim adorns the outside of the bonnet.  It ties under the chin with vintage seam binding.

The jacket may look complicated, but it actually sews together very quickly.  The fit of this pattern is impecable, as well.  It is designed by Keepers Doll Duds, one of my favorite doll pattern designers.

I still need to make her a proper slip.  She borrowed one from another doll for the photos, but I want to make one just for her.  I guess that'll be my next project!


Friday, August 23, 2019

18" Madame Alexander Doll Limb Repair

Lately I've been enjoying figuring out how to repair dolls.  The method I will show you is not the only way, or may not even be the best way, but it is the way I discovered that works best for me!  Here we have an 18" Madame Alexander doll, marked 2004 on the back of her neck.  I found her at a thrift store with her arm already broken.  I was able to get her for half price because of the defect, so I believe she cost me a whopping $2.00.  Her clothing and shoes alone made her worth the price, and I figured I could practice my rehab skills on her.

Here is a picture of her leg joint, but it is exactly what her arm joint looked like as well.  When it breaks, there is no way to repair it aside from removing it and replacing it with a new sort of jointing system.  I used pliers to crack apart the plastic and remove all the parts. This is what you are left with:  
A nice, empty, shoulder cavity.

Here's the arm, with the plastic joint removed.  Also shown is the wooden craft ball with a center hole which I decided to use for the new joint.  The ball is just slightly larger than the armhole opening.  You'll need to use a blow drier (or heat your vinyl some other way to make it pliable) in order to be able to shove the wooden ball inside the cavity.

Here are the supplies I used:  Elastic stringing cord, metal washers, crimp sleeves, and wooden craft balls (with a center hole)

Thread elastic cord through the wooden ball and secure a crimp sleeve on one end with pliers.

Heat up the vinyl (only takes about a minute with a blow drier), and then shove the wooden ball (crimp-sleeve end first) into the arm.  Wait a few minutes for the vinyl to cool and become hard again.  

Thread the free end of elastic cord into the shoulder cavity and out through the body.  Add another wooden ball (optional), a washer, and then another crimp sleeve.  You don't have to add the wooden ball, but I was having hard time reaching into the narrow body cavity and securing the crimp sleeve with the pliers, so adding the wooden ball allowed me more room and ease to get this accomplished.  Pull the elastic as tight as possible and secure the crimp sleeve with pliers.  The arm is now functional again!

Another picture of the joint repaired.  I ended up cutting off the long tail of elastic that wasn't needed.  Then I restuffed her torso with fiberfill stuffing and closed the opening with a ladder stitch.

All ready to be loved and enjoyed again!

This particular doll is being donated to a lady in my doll club who is involved in an organization that gives dolls to children in the foster care system.  She will receive a nice, new outfit and shoes.  But most of all, she will receive a new little girl to love her!  I am so happy to have been able to give to new life to a doll that most likely would have ended up in a landfill.  Aside from her broken arm, she was really lovely.  Her hair is thick and full, and she has the sweetest face.  These early, Madame Alexander play dolls are so pretty.

And while this is not doll related in the least, I just had to share:
This is my son's teddy bear hamster, Lydia.  Isn't she cute?  She is so sweet and tame.  Here she is, taking a sand bath in a ceramic bowl.  She is about 1 1/2 years old.  Hamsters only live about 2-3 years on average, so I am already dreading the day she passes on.  My son (and the rest of our family) just love this little rodent so much!

Just like people, her hair is turning white behind her ears with age.  So I guess we have a little old lady hamster!