Maud Humphrey

Maud Humphrey

Sunday, January 4, 2015

Simplicity 1244 and American Girl KIT

Today I finished up this pattern for the American Girl doll, Kit, that my daughter received for Christmas:
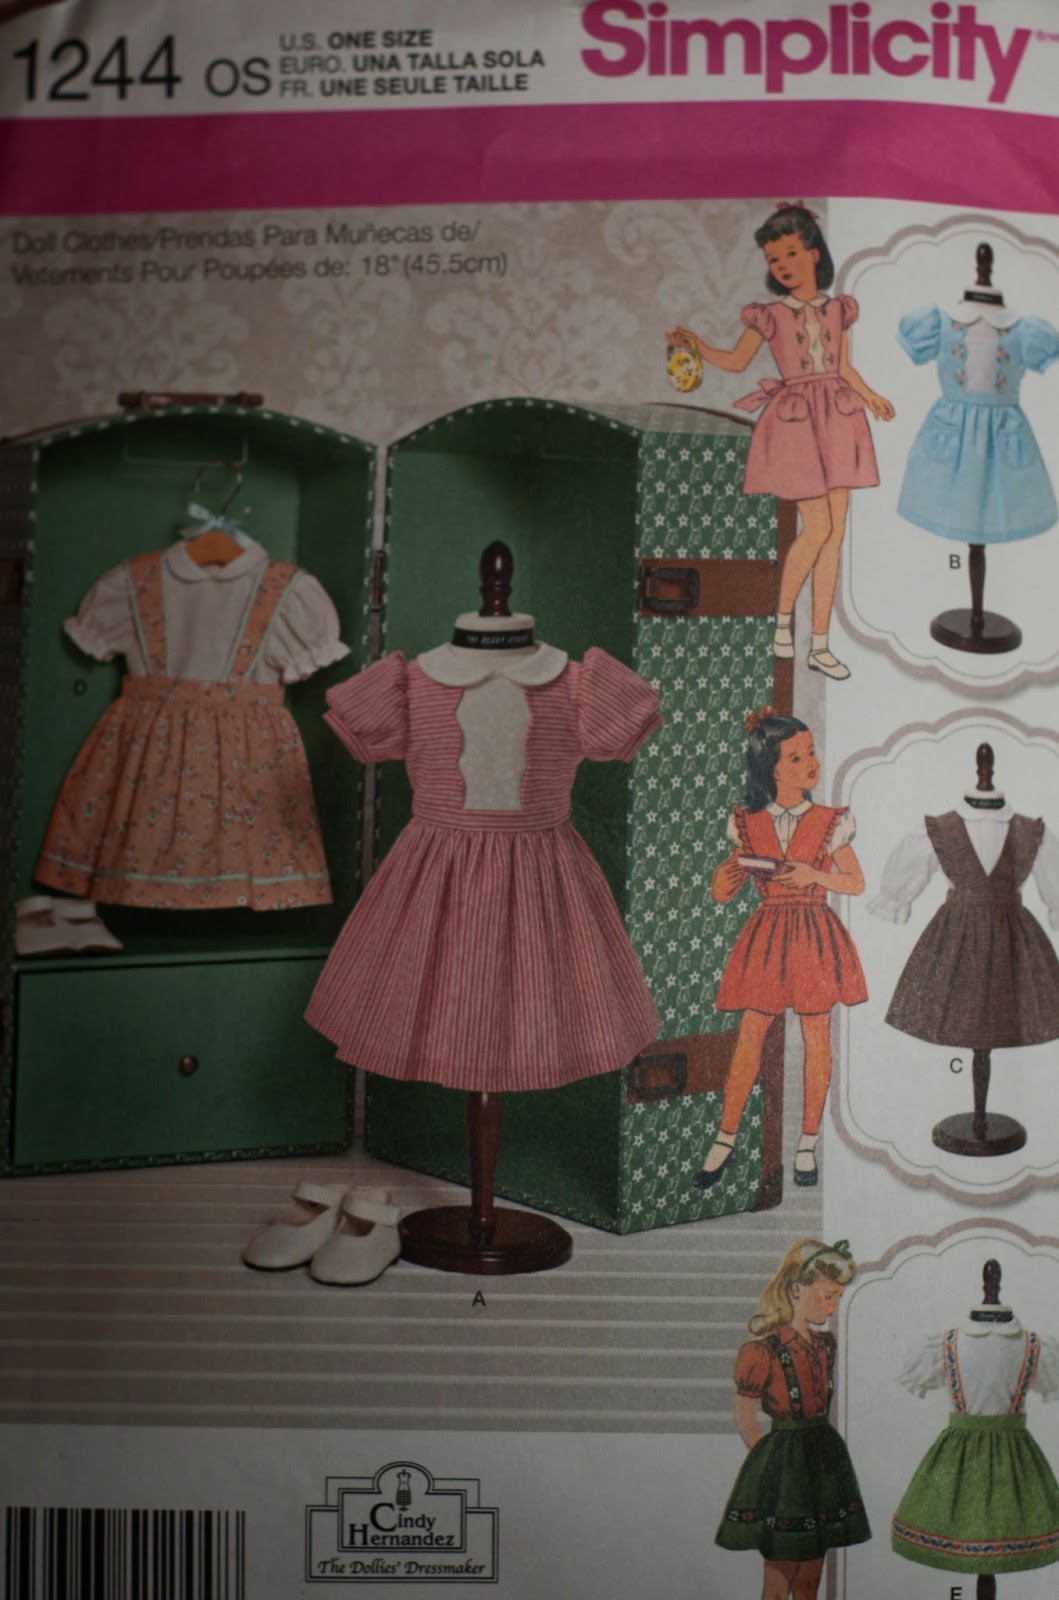
Simplicity 1244--I made view A, in the center.
 
I matched the sleeve cuffs to the center bodice fabric, and omitted the ties at the waist.
 
I also lined the bodice instead of using a neck facing or bias trim, because I think it just looks nicer with a lining.
 
The pattern also calls for the collars to come all the way around to the back and get sewed down into the back seam.  What???  Who ever heard of a peter pan collar doing that?  So I cut them shorter and rounded the back edges.  I also edged them with a darling piping.  The dress closes with snaps under decorative, yellow buttons.  I really don't like Velcro on doll clothing, so I rarely use it for my own dolls.  My favorite closures are buttons and buttonholes, but this wasn't possible since MY SEWING MACHINE BROKE on Christmas Eve.  Right in the middle of putting my son's quilt together.  Did I mention that already in my last post?  I can't remember.  It's really been quite traumatic.  I do have a back up machine, but it's older and doesn't have an automatic buttonholer.  So I am relegated to "making do" with snaps as fasteners until I get my machine back. 
 
Here is the waffle maker that I acquired along with Kit.  It is metal and porcelain and heavy and oh, so adorable.
 
Just look at the waffles inside!  They can be removed from the iron.
 
And how cute is the plug?  It looks so real that I had to convince my 5 year old that it could NOT be really plugged into an outlet. 
 
Part of the waffle maker set includes this porcelain plate along with another waffle and a dollop of whipped cream on top.  There are also two sprigs of Christmas greenery to use as decoration.  This entire set is just too cute.  Pleasant company really outdid themselves with some of their earlier accessories.
 
Here is Kit's typewriter.  The keys actually press down, and the little thingy (I don't know what it's called) that types the letters onto the paper actually works!  You can even move the carriage back and forth.  It doesn't actually print (there's no typewriter ribbon), but everything moves like a real typewriter would function.
 
The stationary set that goes along with the typewriter.  How stinkin' cute is that eraser???  I remember my mother using one of those when I was a child.
 
Kit's lunch pail set
 
Another adorable set.  The pail is metal, and all the little food pieces and napkin can be packed away inside.
 
Coconut!
 
This is the earliest version of Coconut.  He is heavy, kind of like a paperweight.  The first run of these pets was called "he".  A year later they were called "she" and also had a magnet added under their nose so they could hold a toy bone.  Mine does not have the magnet.  He also comes with his little pet bed and cushion.
 
A sweet friend from my doll club sold me her daughter's Kit doll and all the above mentioned accessories.  Her daughter received Kit the year she came out, back in 2000.  Kit was the first doll manufactured by Mattel once they took over Pleasant Co, so she was kind of a transitional doll.  The back of my Kit's neck is marked "Pleasant Company" in super tiny, raised, writing.  I'd never seen such tiny writing used on the American Girls before.  I would take a picture of it, but it's so hard to see in real life, that I don't think I could get a decent photo of it.
 
I had always wanted to add Kit to my collection.  I love her clothing, her accessories, and her cute, bobbed haircut.  By the way, her hair is super shiny and soft.  She has the shiniest, smoothest hair out of all my AG dolls.  Have you seen her kitchen stove and canning accessories?
1930's stove--I want this so bad!  It is a retired item, so the only way to obtain it is on the secondary market.
 
The produce and preserves set that goes along with the stove
 
Kit's wash day set--this would be so cute to set up on a shelf in my laundry room, don't you think?
 
I also love this Glassware and Linens set.  I have a weakness for tiny doll dishes and silverware.
 
Kit has so many wonderful accessories--hunting for them is so much fun.  Someday I hope to add these retired items to my (ahem, I mean my daughter's) Kit collection!


Sunday, December 28, 2014

Christmas Projects and Pictures

And the worst Blogger of the Year award goes to...Me!  I humbly accept.  Well, maybe I'm not the worst, but it's been almost six months since my last post.  Really?  I don't have any excuses.  I am guilty as charged.  Okay, now that I've got that confession out of the way, here I am again, ready to tackle blogging on a more consistent basis.  But I'm not making any promises!  Now, onto some Christmas projects:
 
Look at this darling, cardboard suitcase I found at Michael's:
 
Here's another view.  I bought it for the sole purpose of containing my son's fiancĂ©e's childhood Addy doll, and her clothing.
 
Unfortunately, it was about an inch too short, so Addy had to lay diagonally inside.  But I couldn't find anything bigger, so this had to do.  I do really love the Paris graphics on the outside, and the handle and buckles.
 
This is my future daughter-in-law's Addy:
 
She and her sister saved up and pooled their money in order to purchase her when they were children.  Addy was well loved and had seen better days, at least in the hair department!  When my daughter-in-law-to-be showed her to me, her hair was a huge rat's nest.  But that wasn't the worst part...oh, no...she and her sister had decided that Addy needed corn row braids, so there were about 30 teeny, tiny braids scattered throughout her hair.  I offered to clean her up and fix her hair...little did I know that it would take me over THREE hours just to unpick all those corn rows with the help of a sewing needle!  But I did it, followed by a hair wash and a gentle comb out of all the snarls and tangles.    I use Dr. Bronner's Lavender Liquid Castille soap to wash my dolls' hair.  I used to do a "Downy Dunk" on doll's hair that was severely dry and damaged, but not anymore.  I didn't feel like it was really helping.  So now I just wash, comb, add braid spray, and then use a hair straightener on the lowest setting.  Here is the braid spray I use:
 
I picked this up at my local Sally's Beauty supply store.  It was about $3.50, if I remember correctly.  I heard about this from another doll blog, and how it worked wonders on dolls' hair, so I gave it a shot.  This, along with the straightener, gives new life to damaged doll hair.  Here's a previous post where I restored the hair of a Gotz doll with a straightener:  http://dotsydoodle.blogspot.com/2014/02/gotz-doll-restoration.html
 
So, after I fixed her hair, I figured that Addy was deserving of a brand new dress.  I used this pattern and did a combination of the brown and blue dresses in the top row:
I used the bodice from the blue dress, and the sleeves and collar from the brown dress.  I completely lined the bodice (rather than using a neck facing), and added an overskirt with lace edging to the underskirt.  Other than that, I followed the pattern and it turned out beautifully.  I didn't have to make any adjustments for fit, so I am very pleased about that.  The dress closes in back with snaps.
 
 
Here is a good view of Addy's hair, all combed out and conditioned with braid spray:
 
I also made her a pair of pantaloons, edged with tucks and lace:
 
I really wanted to make her the coat and bonnet, too, but I ran out of time.  So I promised my daughter-in-law-to-be that a set would be coming shortly.  I had ordered Addy's hairstyling set from the American Girl site when it was on sale a couple of weeks ago, so I included this in the gift.  The set includes a pretty hair clip, snood, and a braided head band.  I placed Addy, her new clothing, and the hairstyling set in the suitcase, along with a note to her "mother".  I think my daughter-in-law-to-be was very pleased with her gift.  I am just so happy that I was able to work on something doll related for one of my daughter-in-laws!
 
I also made a quilt for each of my other daughter-in-laws.  I copied a pattern from a quilt that my oldest daughter had made for herself a couple of years ago.  It came from a library book, so I can't quote the name of the pattern or the author.  Sorry!  It was simple pattern, but it seemed to take longer than normal because of all the ironing that had to be done after each new piece was added.  Here is one of the quilts, done up in purples, blues, and greens:
It is approximately 52"x72"
 
All the fabrics, except for the white sashing and flannel backing, came from my stash!
 
The cozy, flannel back
 
Wouldn't you know it?  I forgot to take a picture of the other quilt before giving it away!  But it is identical to the one above, only the colors are pinks, yellows, and greens, with a yellow flannel backing.  Both my daughter-in-laws seemed to love them. 
 
Here is quilt that technically was not a Christmas gift, but it was completed in November for my son's 23rd birthday back in July, so I am including it here.  He had been wanting a new quilt for quite some time, so when we spotted the Dr. Seuss Cat in the Hat fabric on a trip to the fabric store, he and I both decided that it would be perfect!
 
The pattern is my own design of simple 8" blocks.
 
My son is color blind, so he has always gravitated to bold, bright, contrasts and shapes.  That is why I stuck with a black/white color theme, with a little color thrown in for contrast.
 
Again, cozy flannel for the back.  I also double batted this quilt so it is extremely warm and heavy!
 
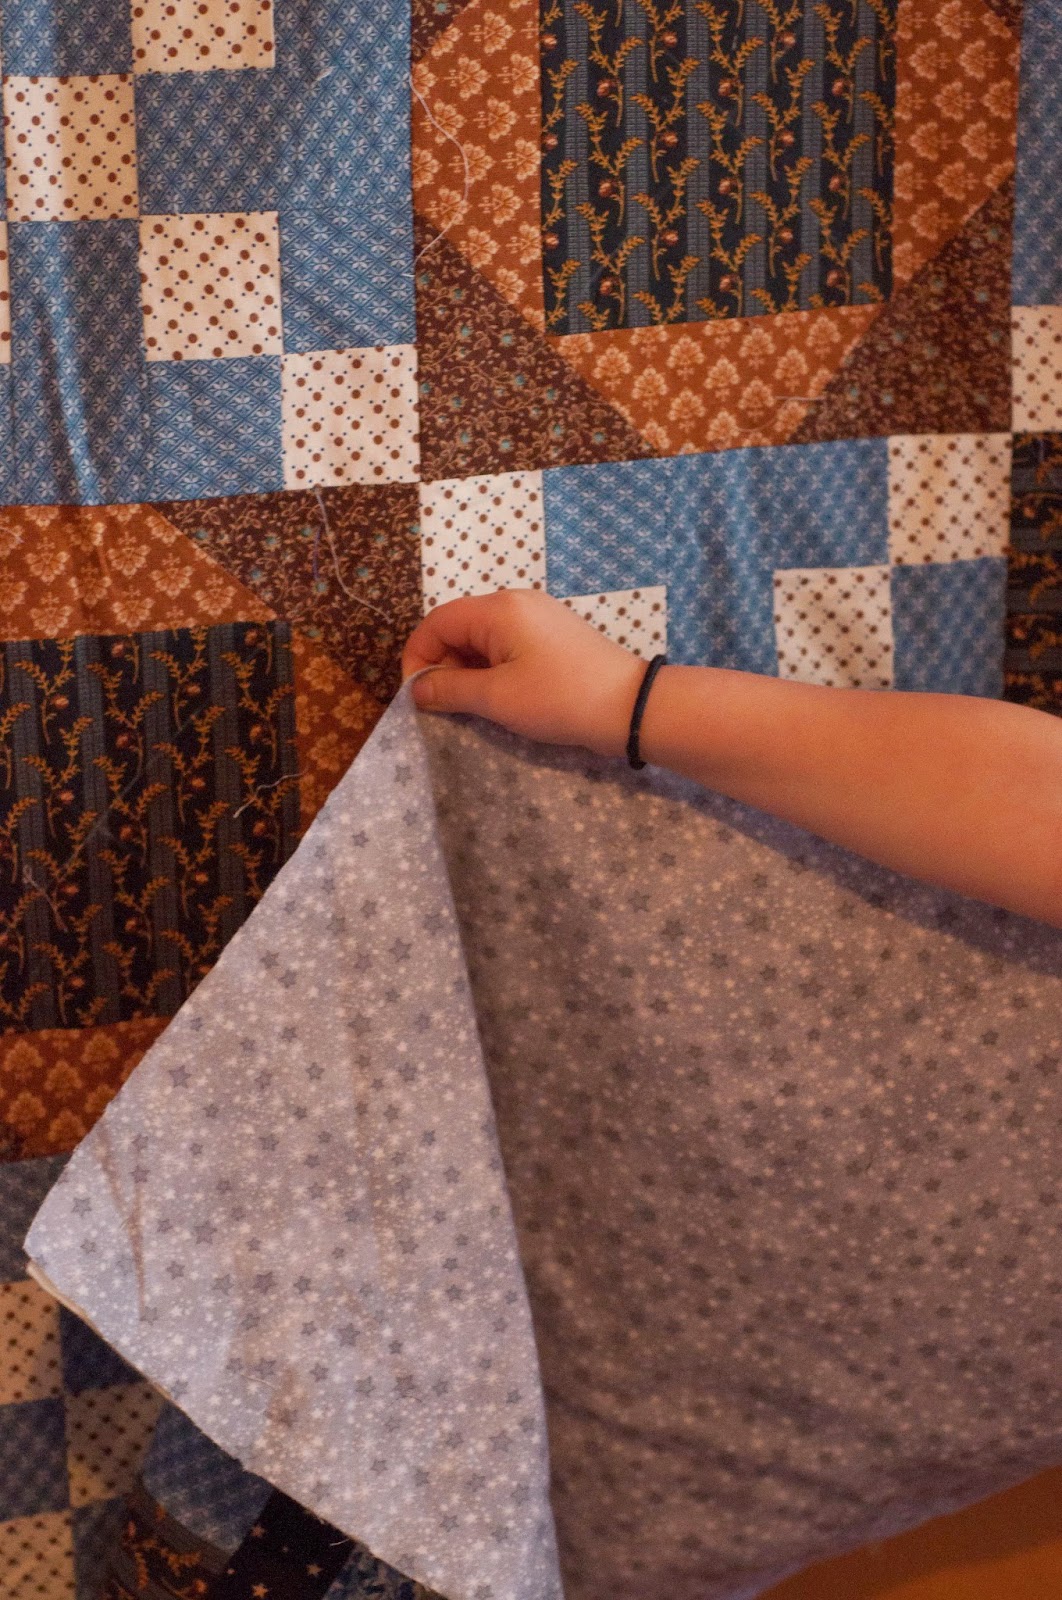
And last, but not least, is this quilt I started for son #3.  I say "started" but not "completed" because right when I began quilting the layers together, my sewing machine made a HORRIBLE noise and quit working.  Just like that.  I was horrified.  I tried everything I could think of to try to get it up and running, but nothing would budge the hand wheel to move.  So here is a picture of the quilt front pinned to the batting and backing, minus the quilting:
10" blocks...another pattern I made up
 
Close up
 
The gray, flannel backing
 
I gave my son the quilt at Christmas, with the promise that I would finish it when I get my sewing machine back from the repair shop.  (Not for at least 4-6 weeks!)  How in the world am I supposed to survive that long without my beloved machine?  Luckily, I have a back-up machine that used to belong to my mother.  It can't do as much and doesn't have a walking foot, so I am limited with what I can do with it.  Plus, it needs a tune up also--try as I might, I just can't get the thread tension to behave.  'Sigh'.  It's going to be a long, 4-6 weeks.
 
Next up on my sewing agenda:  a new quilt made with a Cicely Mary Barker Fairy Panel for my youngest daughter, and the coat and bonnet set from the above mentioned Simplicity pattern.  We'll see how my substitute machine behaves.
 
And now, for some random family pictures:
 
My kids, on Christmas Eve
 
Adding in the daughters-in-law, the fiancée, and the grandchild:
 
Our entire family on Christmas Day, including a set of grandparents:
My youngest was able to wear her Christmas dress from last year.  Yay!
 
 
Adorable Grandson
 
Every house needs a small child at Christmas.  It just makes the holiday so much better!
 

His daddy got the bright idea of placing his son in an American Girl doll box...we all had a good laugh over that one!
 
My daughter-in-law-to-be with her Addy doll, and my youngest with the Kit doll she received!  Kit was bought second hand from a doll club friend, and she also came with her typewriter, waffle maker, lunch box, and stationary set.  So cute!  I will share photos in another post soon.
 
Hope your Christmas was wonderful!


Tuesday, July 1, 2014

Recent Sewing Projects

Yes, I've been sewing!  I've had lots of projects lately, from sewing something for myself, to sewing things for others.  First up:
 
The Claire Cami Dress pattern from Sew Serendipity.  I've made it once before, in a longer version, but this time I decided to make a shorter version for summer.
 
I already had all the fabrics in my stash, so I didn't have to go out and buy anything!  It's hard to tell in the photos, but the fabric is light blue with delicate little roses scattered across it.  I used a pink floral for the hem band and waist tie, and a green print for the waistband and hem ruffle.
 
It's a simple dress to sew and goes together very quickly.  No zipper or button openings--just slide it over your head and adjust the waist ties to fit.
 
I love this dress!  I get compliments on it every time I wear it.  I would highly recommend this pattern if you are looking for something easy and summery to wear this season.
 
Next on the list:  A friend asked if I could sew a crib skirt, diaper stacker, and valance for her new grandbaby.  She gave me the fabric, and this is what resulted:
 
Diaper stacker--how adorable is this?  I love the pink elephant fabric and coordinating brown dots.  My friend bought these fabrics at JoAnn's, if you're curious.  I used a commercial pattern for this (maybe Simplicity?), but I forgot to write it down and have since returned it to my friend.
 
The crib skirt--my, oh my, was there a lot of ruffling involved on this project!  Since my friend didn't know which side of the baby's crib would be showing, we decided to attach a ruffled skirt along each side of the mattress base fabric.  Easy project, but it took FOREVER to gather and stitch all those ruffles!
 
Here is a better view of it lying flat on the ground.
 
 
Matching valance.  The easiest piece of the project to sew, but still took a while because of the amount of fabric involved.  The window it is intended for is six feet wide, which meant that the valance had to be twelve feet wide!  It is backed with white fabric to give it a better drape and protection from fading.  The 1 1/2" casing runs about 2 1/2" below the header.
 
Remember this sweet, little Bye-lo baby which I sewed a bonnet for last year?  The owner wanted me to make her a slip from an old hankie with a pretty, tatted lace edging.
 
Another simple project.  Just a front and a back, gathered to a waistband.  The sides are French seamed, and the waistband lining is sewn down by hand over the raw edges.
 
The back has a placket, and fastens with a hook & eye closure.  Isn't that tatting beautiful?
 
I picked this pattern up at a local JoAnn's sale, and have since started making the doll's dress.  I plan on making SIX of them, since I have six, 18" dolls I want to list on Ebay, and they are currently standing around in their birthday suits.  I think they'll sell better with a cute dress, so that is what I hope to accomplish in the next day or so.  The little girl's dress is awfully sweet, too--that may be a future project for my Sophie.
 
Doesn't this reprint of a vintage Simplicity pattern just make your teeth hurt, it's so sweet?!  Since I have a grandson, I will be making view B, in the bottom right hand corner.  The red dalmation fabric just cried out to be paired with the black plaid, don't you think?  My grandbaby will be visiting this weekend, so I hope to get to this one soon!  And if it turns out as cute as I think it will, then I may make the girl's version with all the ruffles on the bum, just to put away and keep for a future grand-daughter.  Or give as a shower gift.
 
And last, but not least, I had my doll club meeting today, and the hostess had this lovely painting on her wall which I couldn't stop drooling over:
 
I couldn't figure out the artist's name, but I believe it was painted in the 1850's-1860's.  How gorgeous is that dress?  I would love to try recreating this for a doll.
 
So much fabric, so little time...!